
A
B
G
R
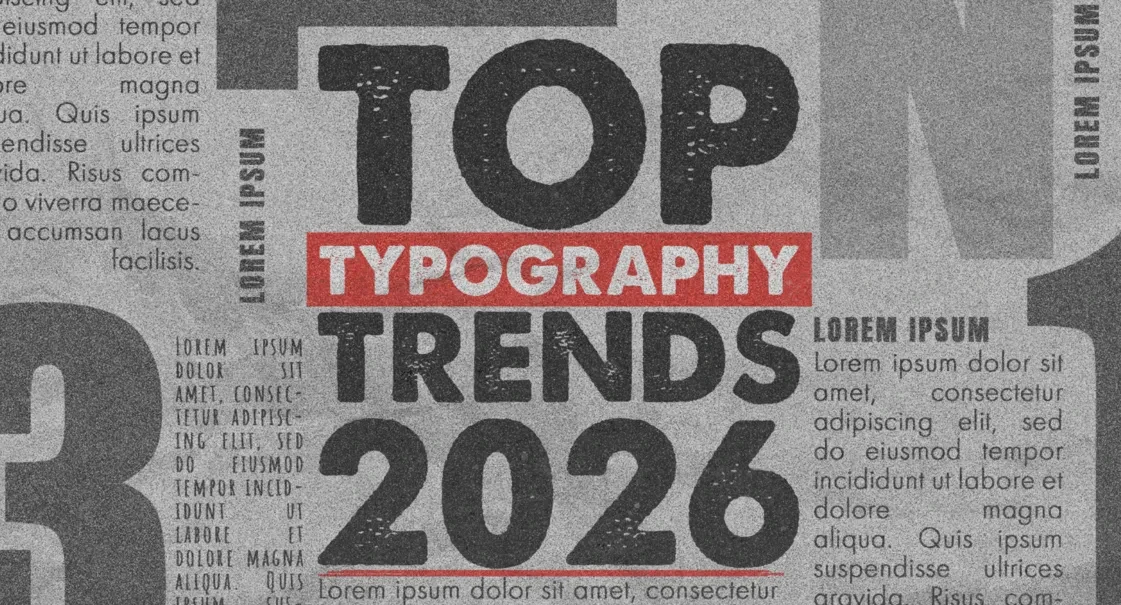
A beginner's guide to creating a
typeface
Turn scribbles into a real font.
scroll ↓
STEP 01
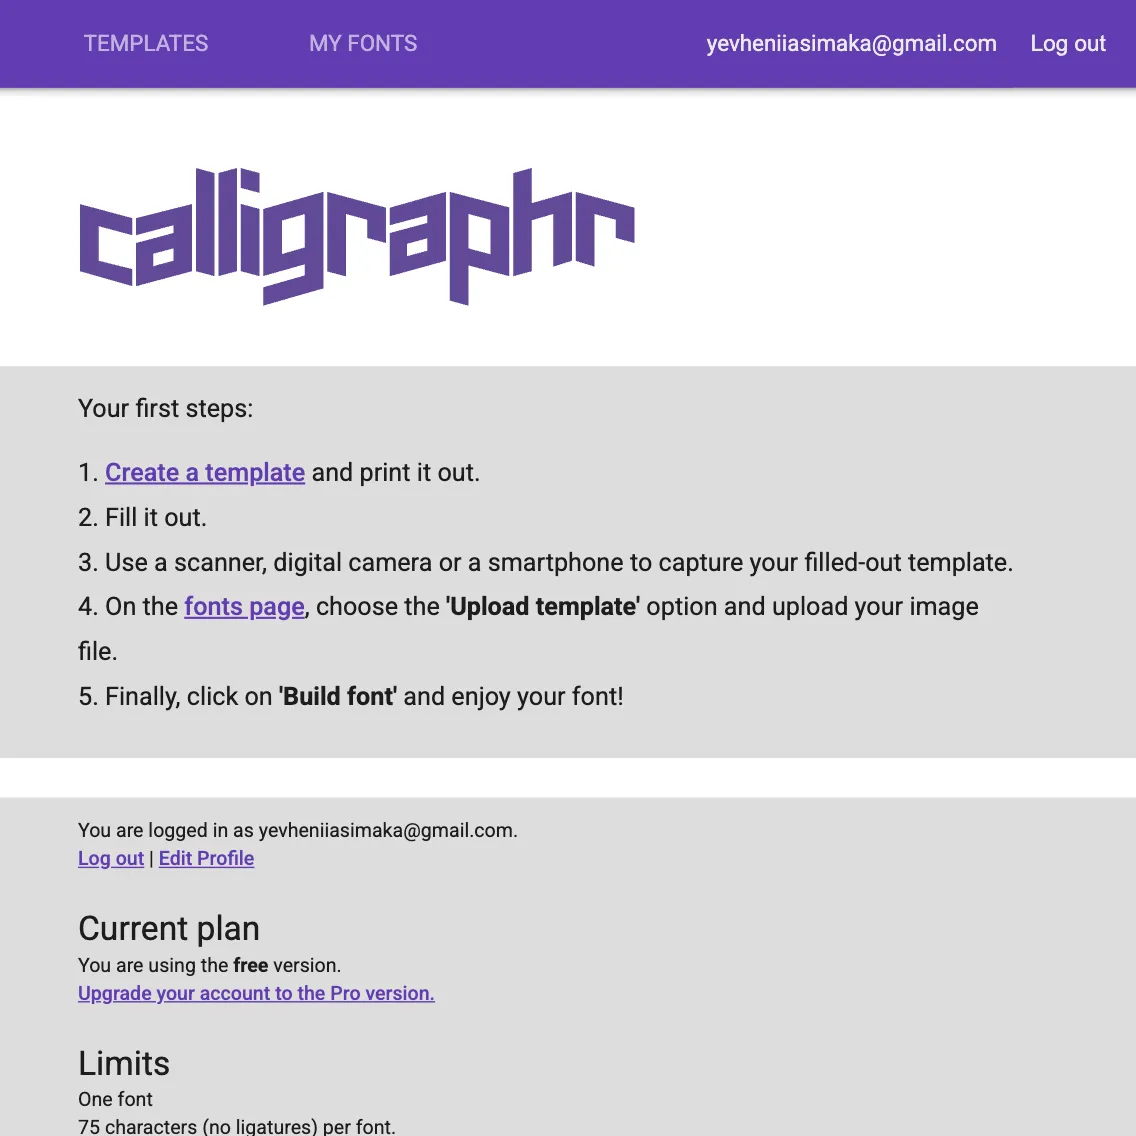
Go to Caligraphr
Go to Calighraphr and select "Create a Template" and then on the left handside select "Minimal English"
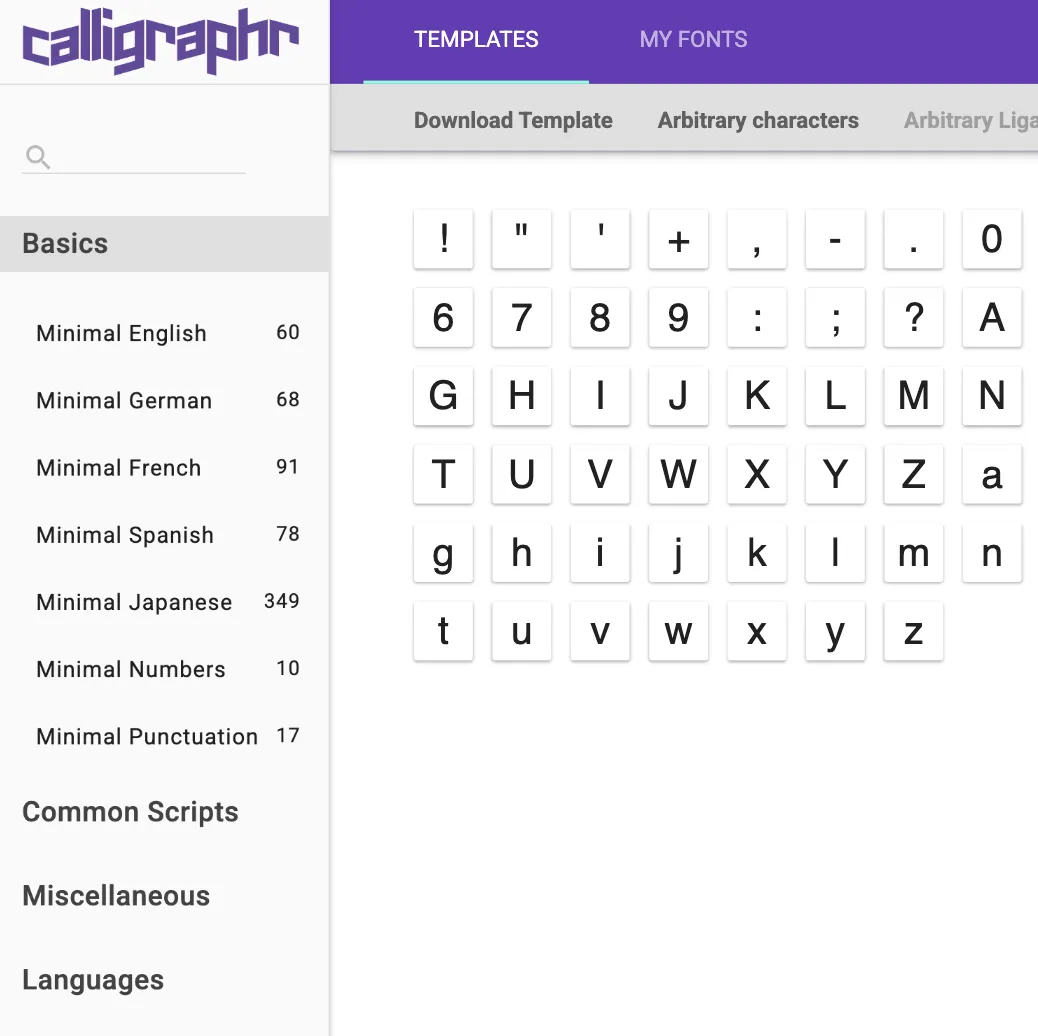
STEP 02
Download the Template
Click "Download the Template" and select prefered file format, and then check the boxes for "Draw Helplines" and "Characters as Background"
STEP 03
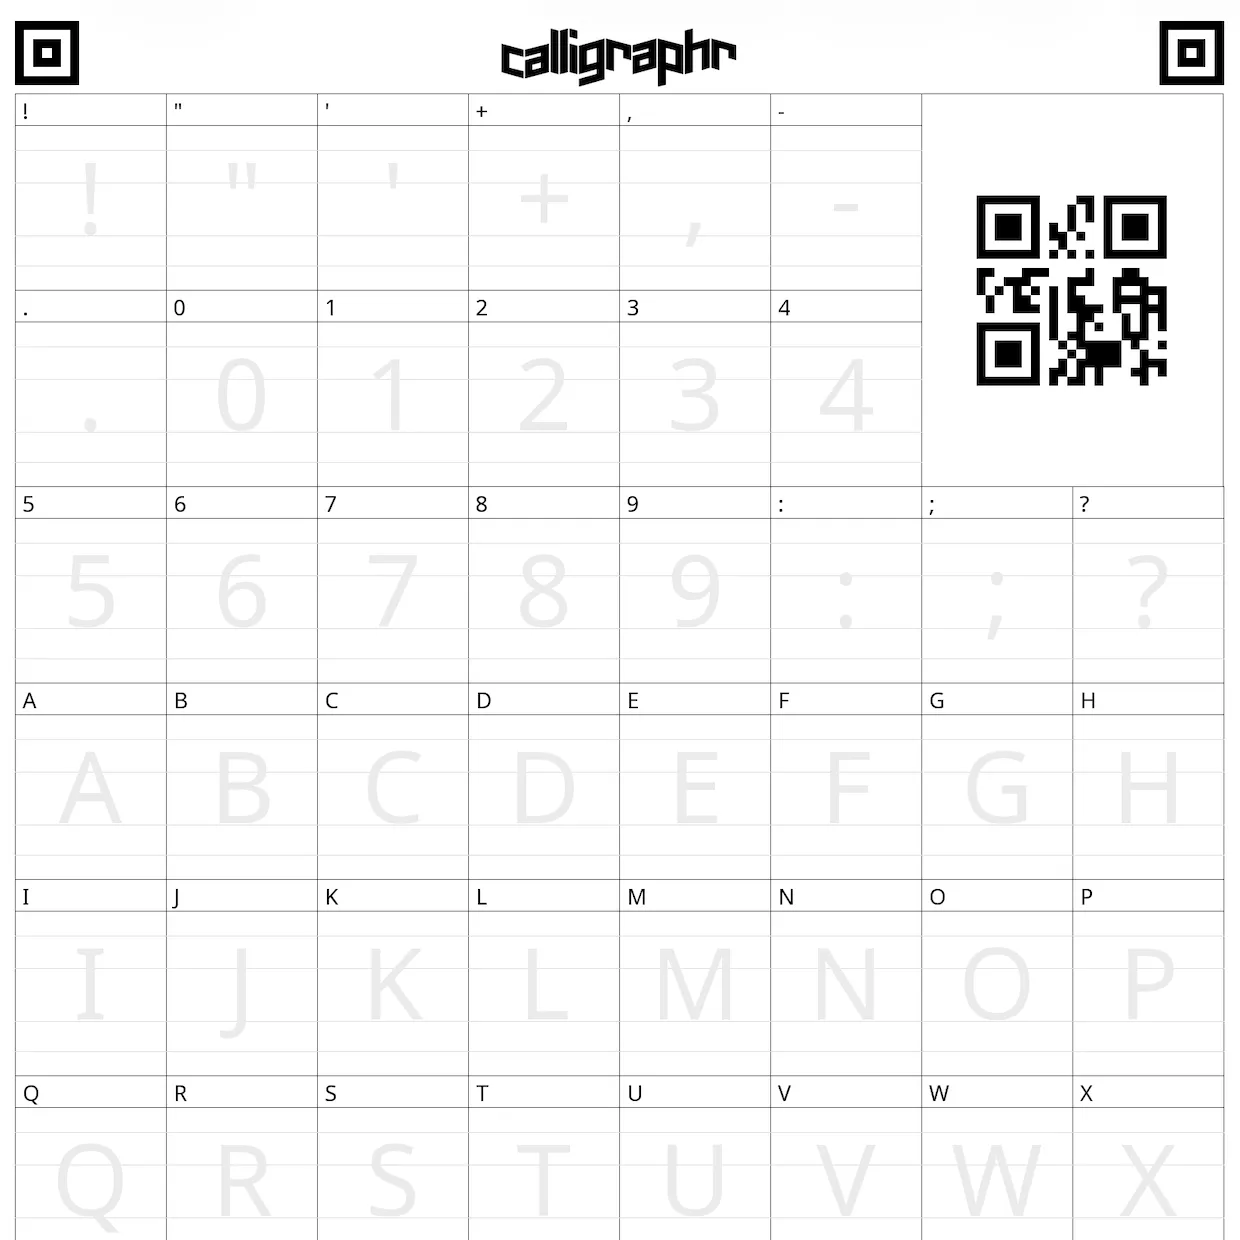
The Template
This is something the template should look like after you download it. You can print it out and draw on it, or preferred way is to do it digitally.
STEP 04
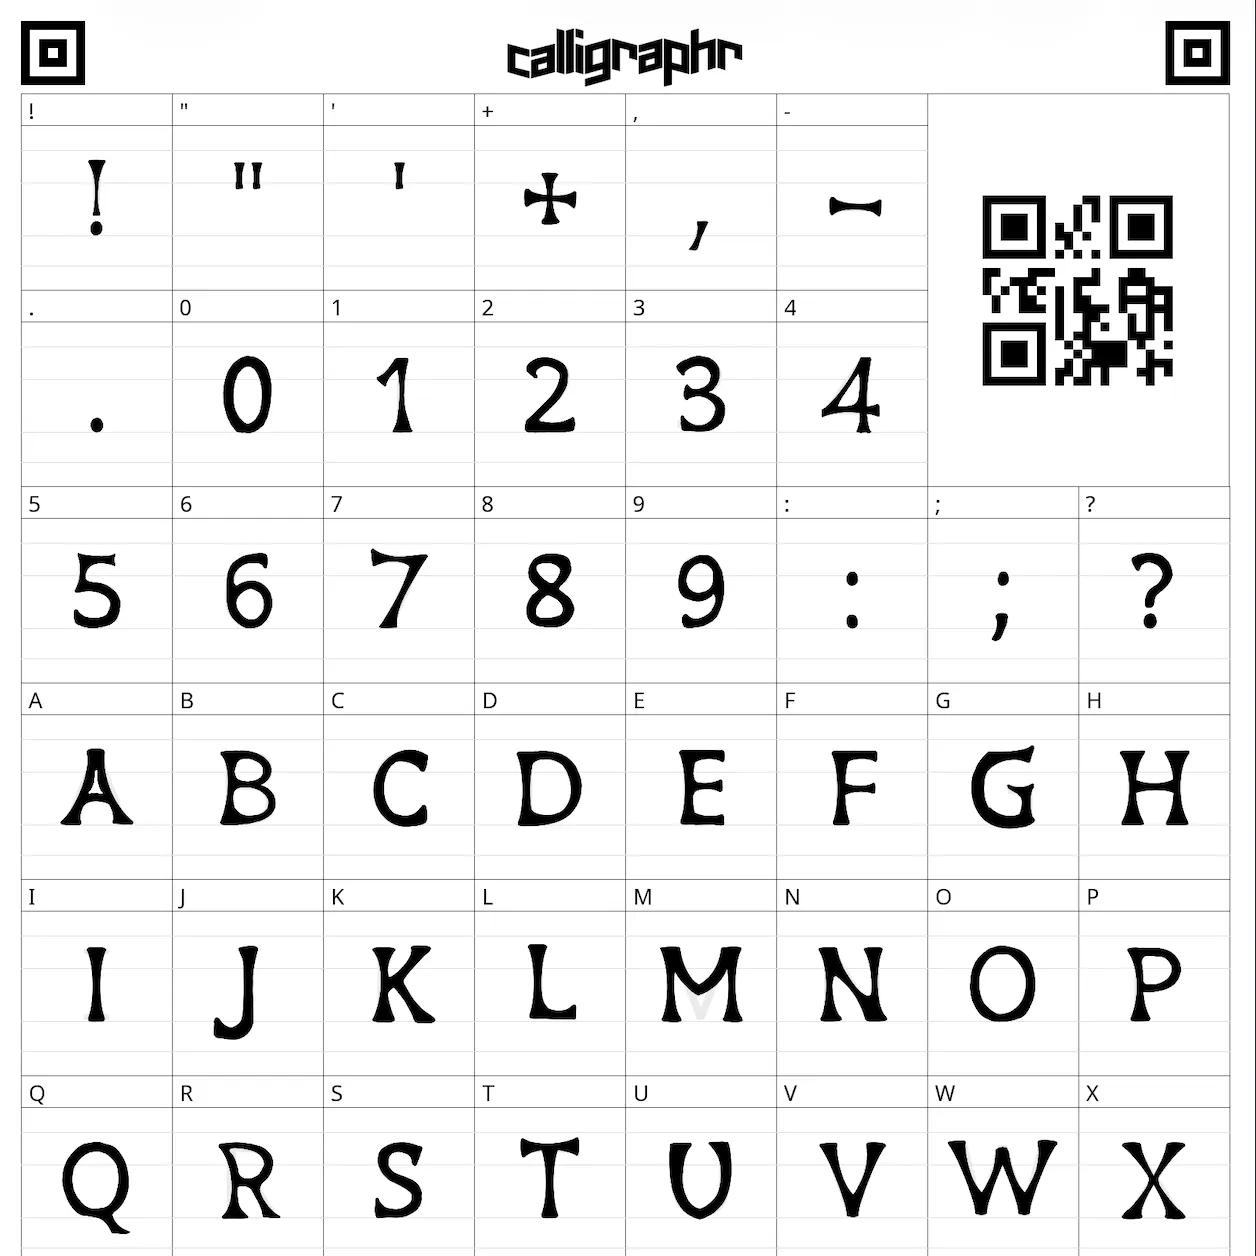
Draw Your Font
Something to keep in mind is to make susre all your letters are the same thickness and same size
STEP 05
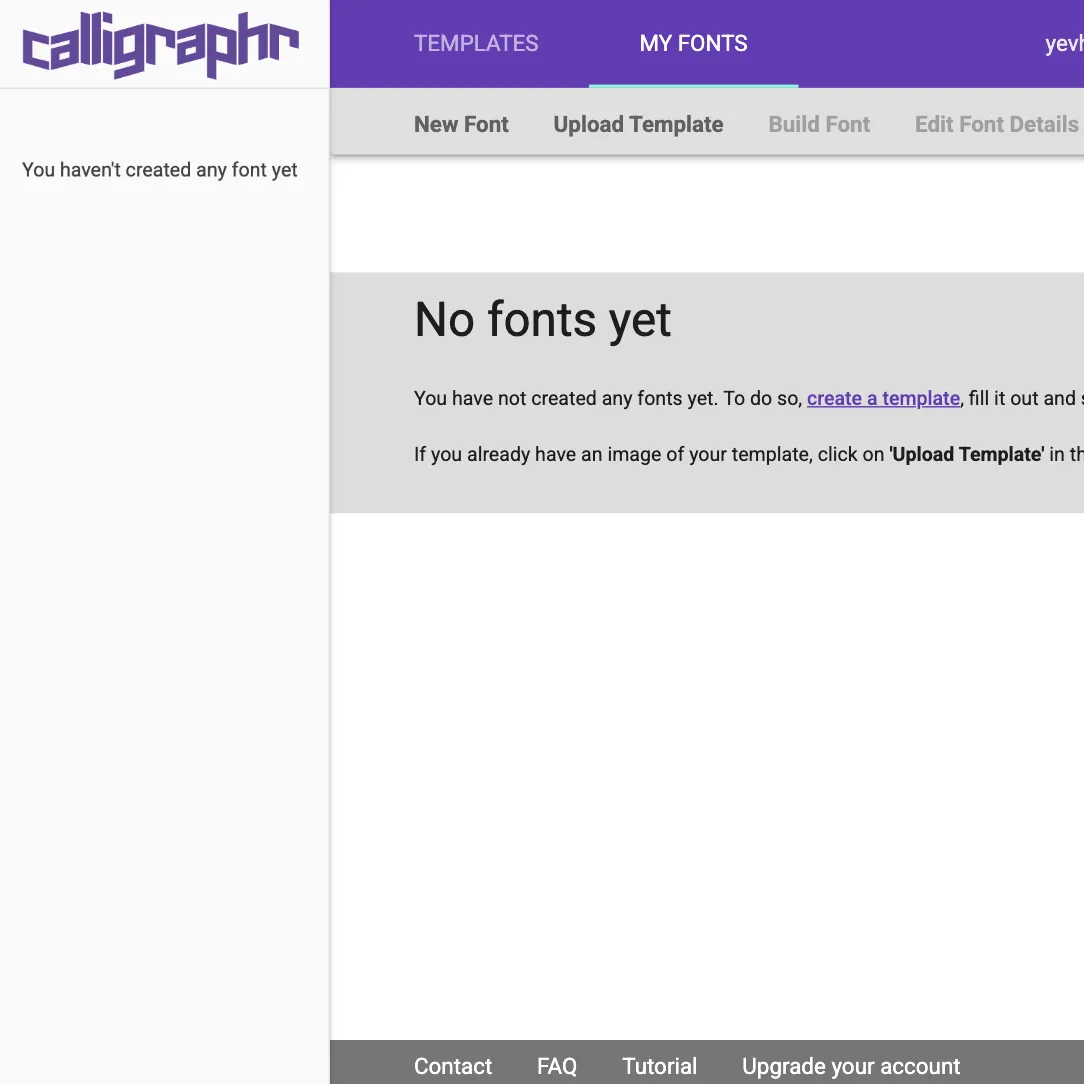
Upload the Font
Go back to Caligraphr and click on "My Fonts" and then click "Upload Template" and select the file you just drew on.
STEP 06
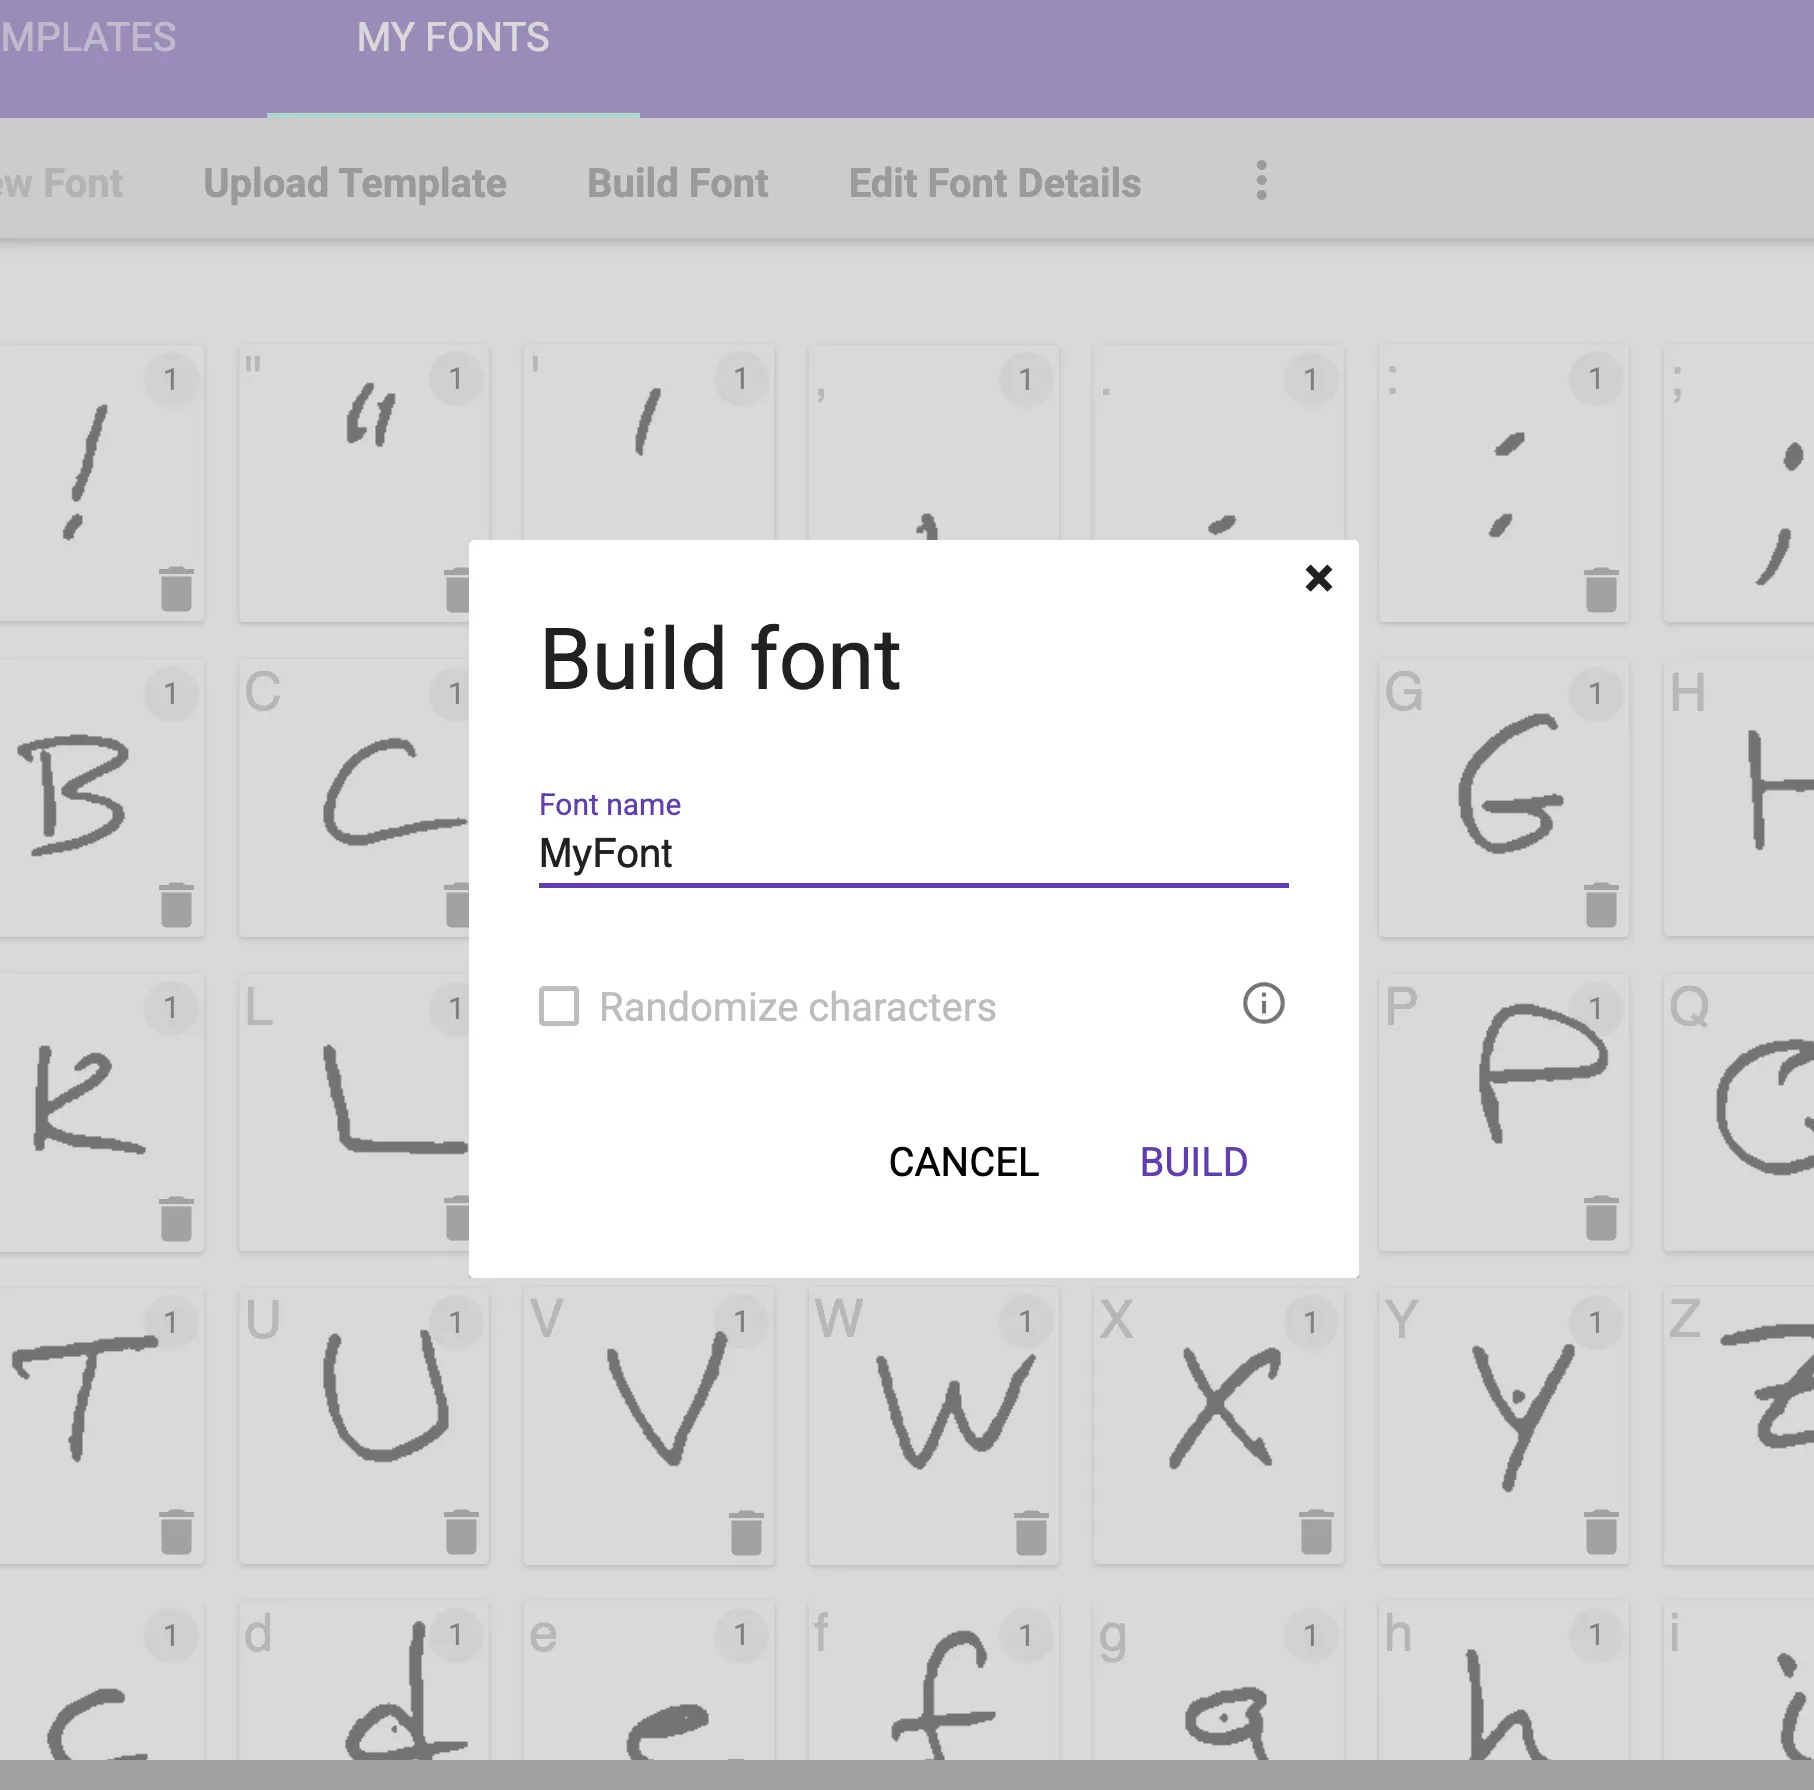
Build Font
After uploading your font, then you'd see your letters, you can edit them if needed - then click "Build Font"
STEP 07
Export Font
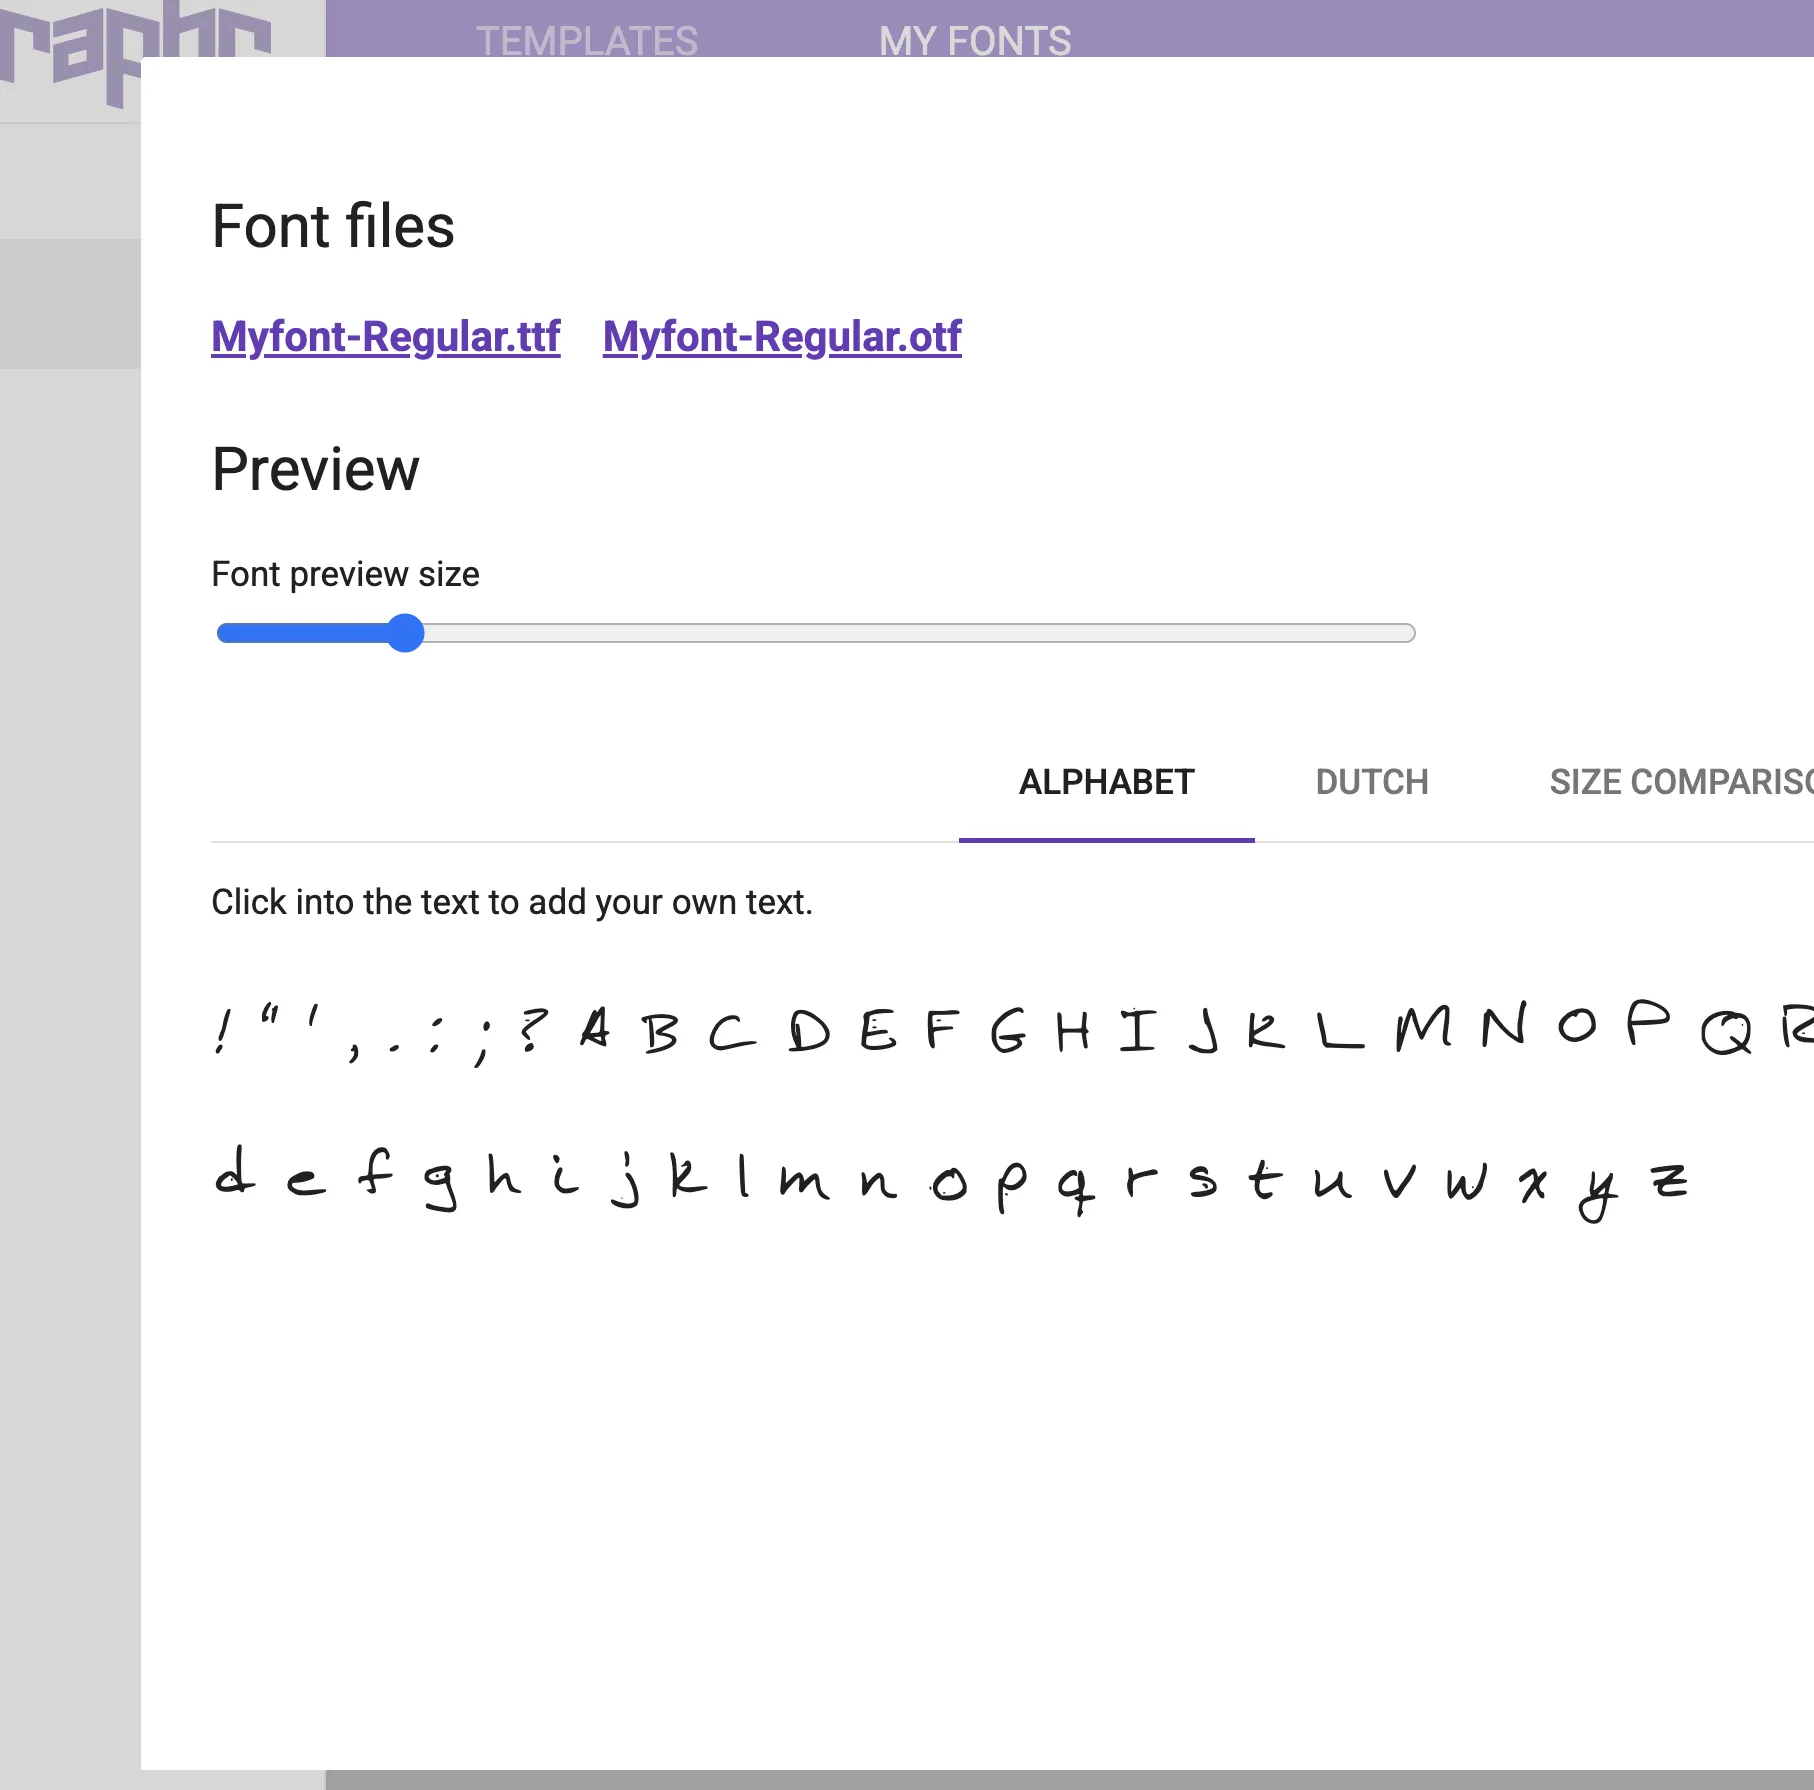
Click on the "my-font.ttf" and "my-font.otf" which will download your fonts.
STEP 08
Implimenting Font
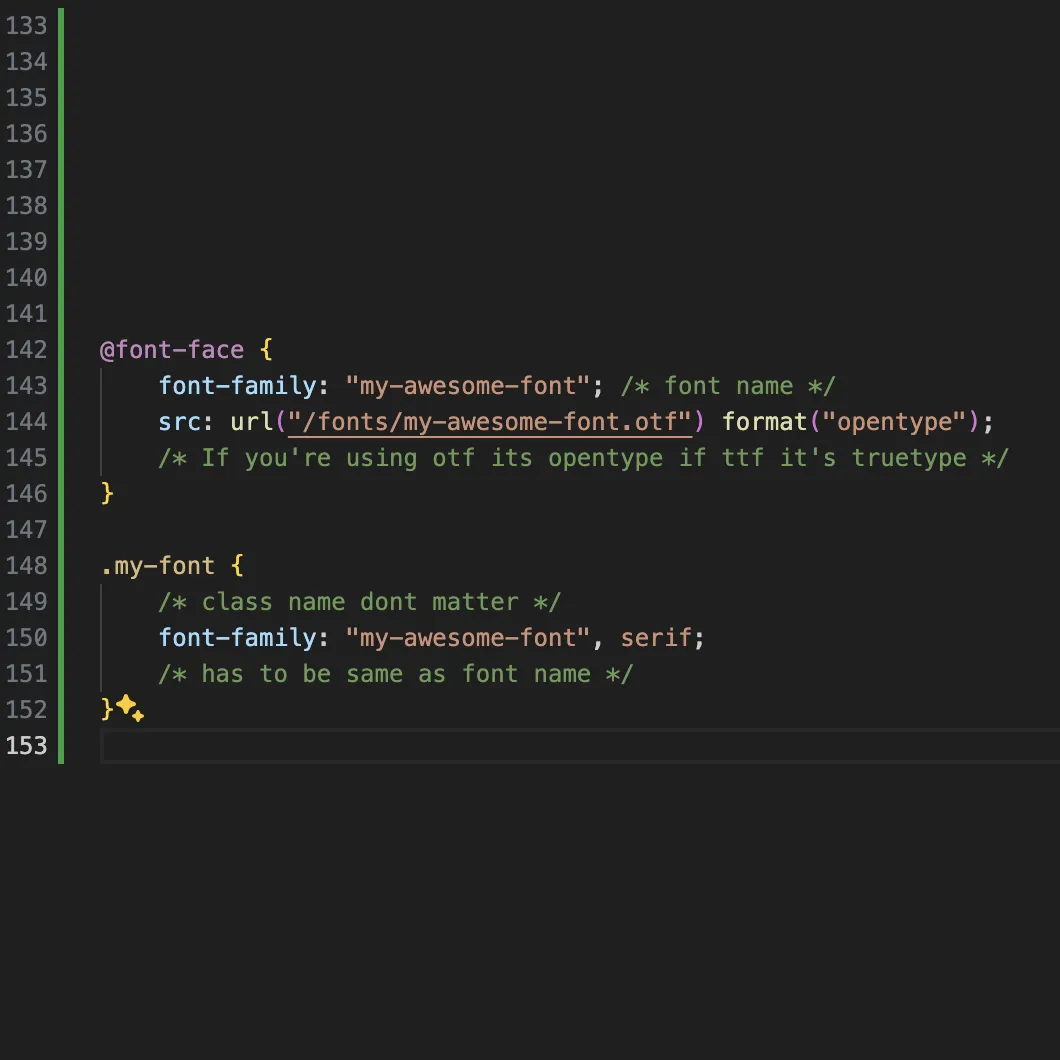
Here is how to impliment the font, add this CSS code to the global.css file or just any css file that's linked to your code. MAKE SURE TO HAVE CORRECT FILE PATH
STEP 09
Implimenting Font
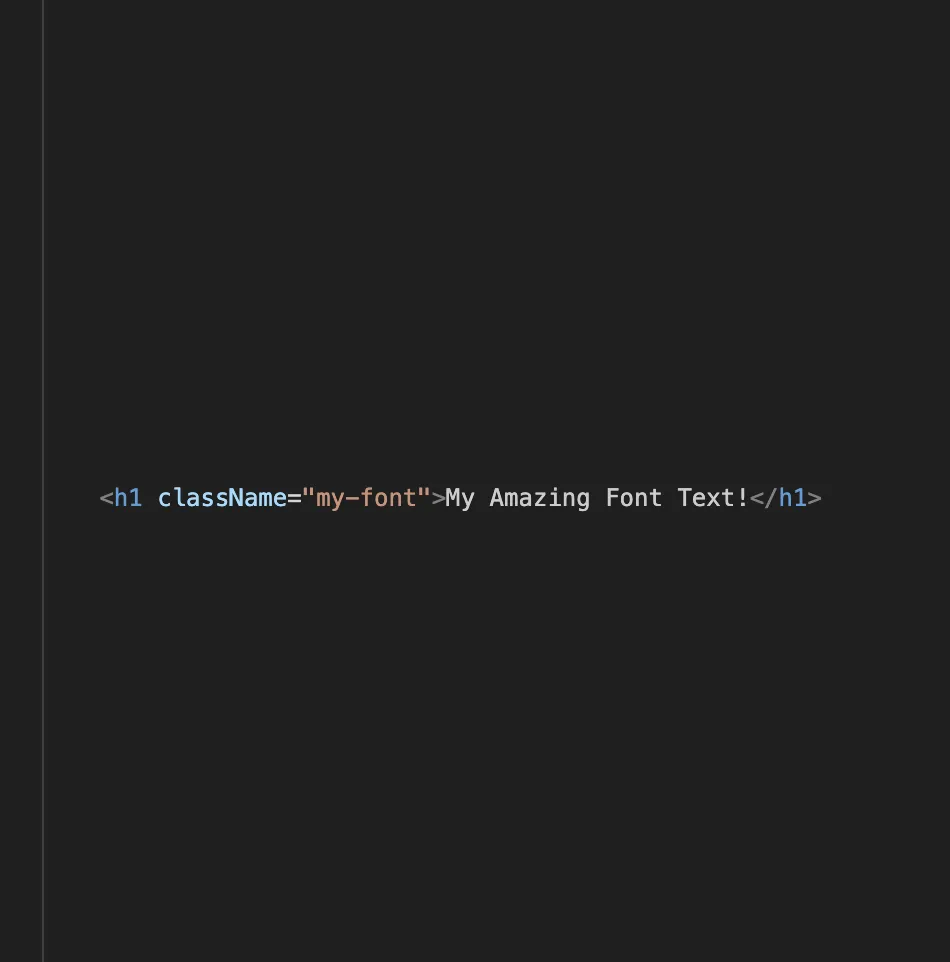
Add the class of your font to the element/text that you want it to be that way
STEP 10
Lock In
Lock in on creating a website for your font! Make it look good! It can be simple or complex, but make sure it represents your font!